How to Make Unique Handmade Clay Earring at Home?
Handmade clay earrings are enjoyable, simple, and especially great to create yourself. Create a pair of these fashionable and well-liked patterns for yourself. Develop unique hues and patterns, such as contemporary marble, floral and botanical motifs, abstract landscapes, and arch forms.

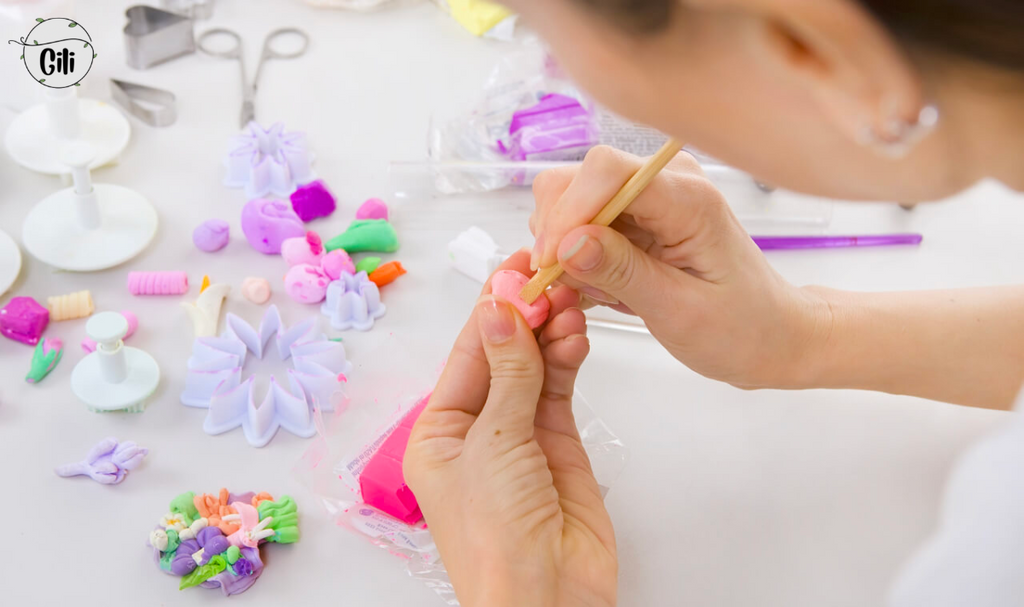
Preparing workspace and tools
While polymer clay may harm or taint certain surfaces, but is typically relatively safe. Hence, it's best to protect your table by working on top of a layer of parchment or wax paper, a metal baking sheet, or a piece of glass. If you don't have any of them, you could even tape down a sheet of printer paper and work on top of that.
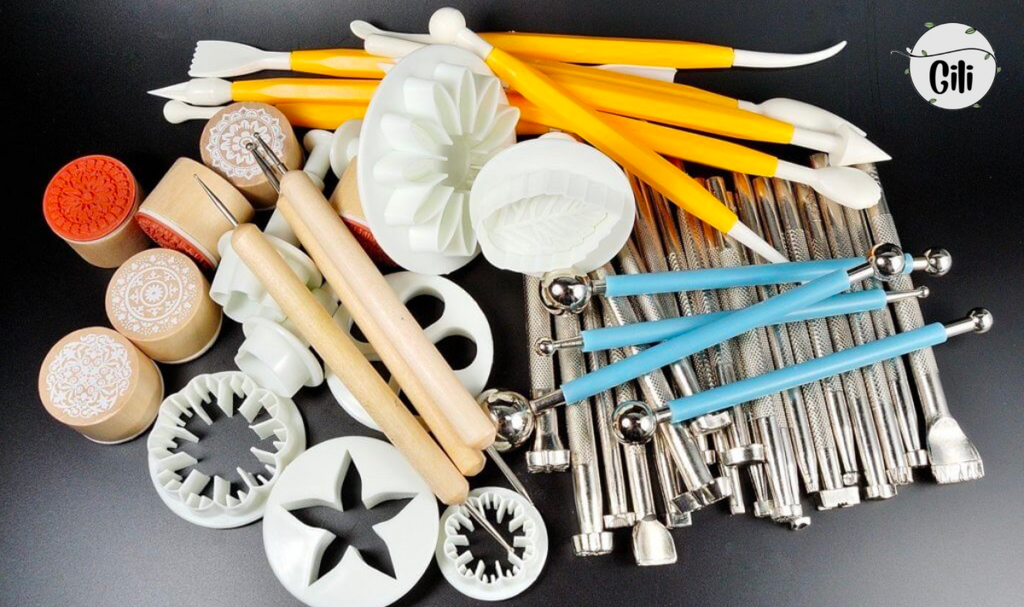
To start creating handmade clay earrings, you don't need much. Similar instruments in your toolbox or kitchen may be used in place of these ones with ease.
- Materials: jump rings, polymer clay in a variety of colors, and earring backs,..
- Equipment: acrylic rolling pin, a big needle, a craft knife, or a clay slicer.
Softening clay and mixing color
Clay is typically solid and can only be shaped by adding water to a specific certain ratio to soften it. The clay is ready when you can easily roll out a long coil and bend it without any breaks or sharp edges.
Following that, you'll need to have a mental image or sample of the handmade clay earrings you'll create: what color they'll be, whether they'll be square or circular if they'll be made with blue flowers or black flowers,...You will then be ready to possess the hues required to mix or blend your own colors.

Shaping and cutting
Use specialized clay cutters, miniature cookie cutters, or a craft knife to cut out the forms for your earrings once you've designed them in clay. The bottom edge of the form may sometimes have jagged edges left behind from the plastic cutters. Either attempt to sand off this edge before baking the clay or do it afterward.
If you don't want to buy blade cutters, you may use a craft knife to draw around form templates carefully. A craft knife, in my opinion, leaves a neater, cleaner edge.
Baking clay
Clay may be baked in a standard home oven. If your toaster oven maintains an even temperature (without hot spots), you may use it as well. Microwave baking polymer clay should never be attempted.
When the clay is still wet, little errors are considerably simpler to fix. Check your items one more time for lint and fluff. Ask the clay vendor for specific baking times and temperatures for the various types of handmade clay earring you want to use.

Adding jump rings
To make your clay forms into earrings, add the metal jewelry components as the last step. Posts and backs are all you need to produce stud earrings. To secure the post to the clay shape's back, dab a little amount of flexible gel superglue on it.
Or, embed the earring post's pad into the clay itself and bake the two items together. Jump rings come in a variety of colors and shapes that you may pick from, such as clay in red flowers or metallic in chamomile flowers.
Or you can go to Gili's Closet to see suitable earring models for yourself. Wish you success and have a good time with this handmade clay earring at home!


